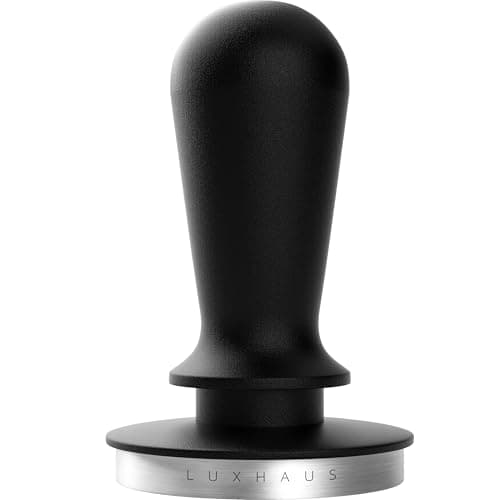
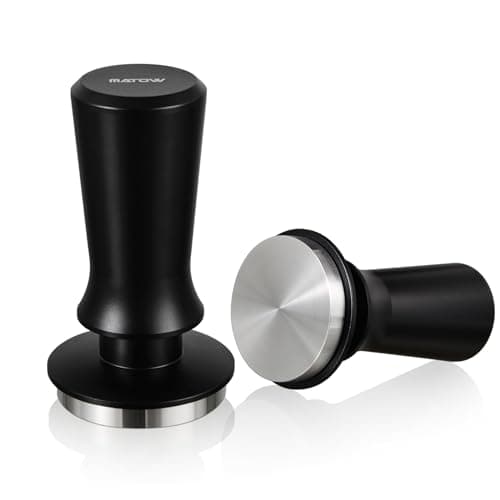
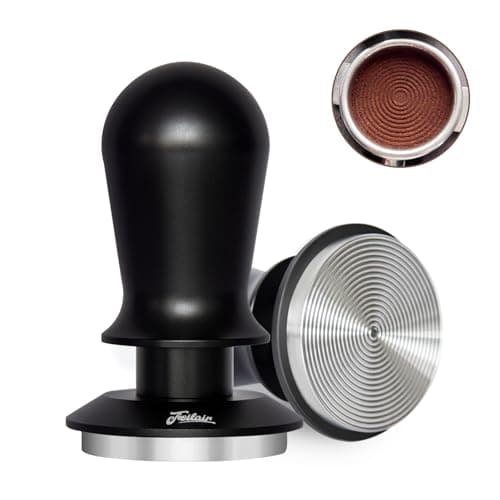
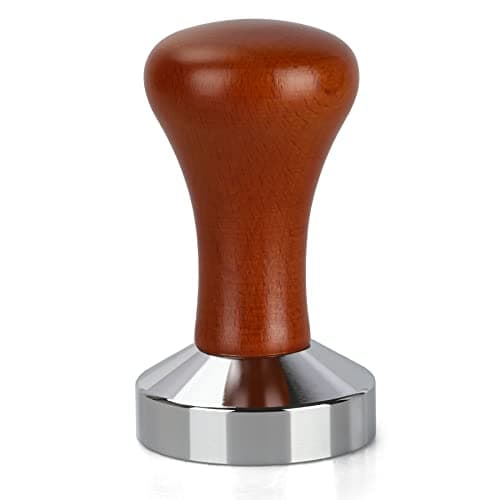
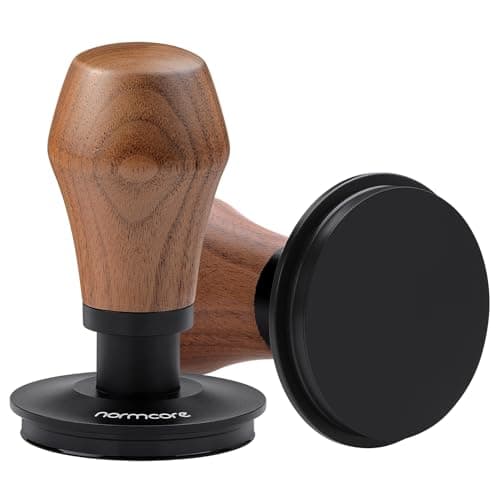
A tamper is the simplest tool in espresso and the easiest to get wrong — not because tamping is hard, but because size is everything. The base has to match your basket almost exactly. Get it right and a calibrated tamper compresses the coffee into a flat, even puck at a consistent pressure; get the size wrong and you leave a rim of loose grounds the water can race around, which channels the shot no matter how good the tamper is. So before you read a single review, answer one question: what diameter is your basket?
The three common sizes are 58mm (the prosumer standard), 54mm (Breville) and 51mm (many De'Longhi and entry machines). We have ranked the best tamper we would buy at each size, led by the 58mm pick most home baristas will want. If you are still assembling your kit, the tamper is item one on our accessories starter kit, and it pairs with a distribution tool to give you the two cheapest, biggest upgrades in home espresso.
The size guide: 51mm vs 54mm vs 58mm
This is the whole game, so start here. A tamper base must match your machine's basket diameter within a fraction of a millimeter. 58mm is the prosumer and commercial standard — Gaggia, Rancilio, Profitec, Lelit and most enthusiast machines use it, and it has the widest choice of tampers and accessories. Confusingly, many 58mm tampers are sold as 58.5mm: that half-millimeter is deliberate, giving a tighter, more-of-the-puck press inside a nominal 58mm basket, and it is the size to prefer. 54mmis Breville's size (the Bambino, Barista Express and the rest), and because the tamper Breville includes is a lightweight plastic piece, a proper 54mm tamper is one of the first upgrades those owners make. 51mmshows up on many De'Longhi and other budget machines. If you do not know your size, measure the inside of your basket, or check the model — and when in doubt, a machine from our beginner roundup will tell you which size it uses.
Calibrated (spring-loaded) vs flat tampers
A flat tamper is just a base and a handle; you decide the pressure by feel. A calibrated (spring-loaded) tamper has a spring that clicks once you reach a set pressure, so you apply the same force every time. For a beginner, calibrated is the easy win: it removes one variable while you are still learning, and it means your tamp is not the reason a shot came out differently today. Experienced baristas often go back to a flat tamper because consistent pressure is a habit by then and the exact number matters less than a level press — but there is no downside to a calibrated tamper if you like the reassurance. Whichever you choose, technique still matters: tamp level, not just hard. A tilted tamp channels the shot just like the wrong size does, which is why the how to pull a shot guide spends time on leveling.
The newer Normcores: the V4.1 and the V5
Our top pick is the V4, and Normcore has shipped two tampers past it since, so here is the honest position on both. The V4.1 is the same tamper with an audible click at the set pressure, and Normcore still ships it with the three interchangeable springs (15, 25 and 30 lb) — so what you gain is confirmation, not a different tamp. The V5 is the real redesign: the swappable springs are gone, replaced by a tri-spring assembly and a knurled dial that steps through six preset pressures from 10.5 to 15.5 kg, on a titanium-coated base and a CNC-machined aluminum body. Both are current, both are sold in 58.5mm, and neither is ranked on this page.
That is deliberate rather than an oversight. What a calibrated tamper has to do is apply the same pressure on every shot, and the V4 already does it; a dial that moves the pressure around is a setting most home setups choose once and never touch again. If you want the click without swapping springs, the V4.1 is the small step up; if you genuinely want to change tamping pressure shot to shot, the V5 is the one that does it. We have not had hands on any of the three — our scores are judgments from documented research, as the methodology page says — so we are not going to move a newer tamper above one whose published specs and owner reports we have actually worked through.
Where a tamper sits in your setup
A great tamper cannot rescue a bad grind or a poorly distributed dose, so keep it in perspective. The order of impact runs grinder, then grind size dialed in, then distribution (a WDT tool), then a level tamp. A calibrated tamper is cheap insurance against one of those variables — well worth buying, but it is one piece of the puzzle, not the whole thing. Pair the right-size tamper with a distribution tool and a scale, and you have removed the three most common reasons a home shot disappoints.